
you'll need a few basic tools as you go. spanners, hammer etc. bike shops generally have great customer service and will help you out if you get stuck. if i didnt have a specific tool the lads at south perth bike force have helped me out more times than i can remember.
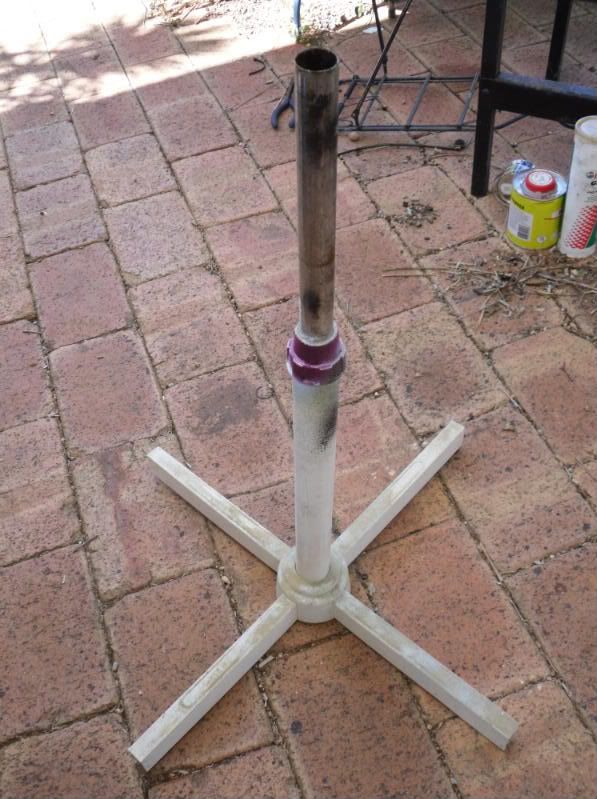
also, if you take off the top of a pedestal fan, you can use it as a bike stand and insert the fan tube into the seat tube of the frame.
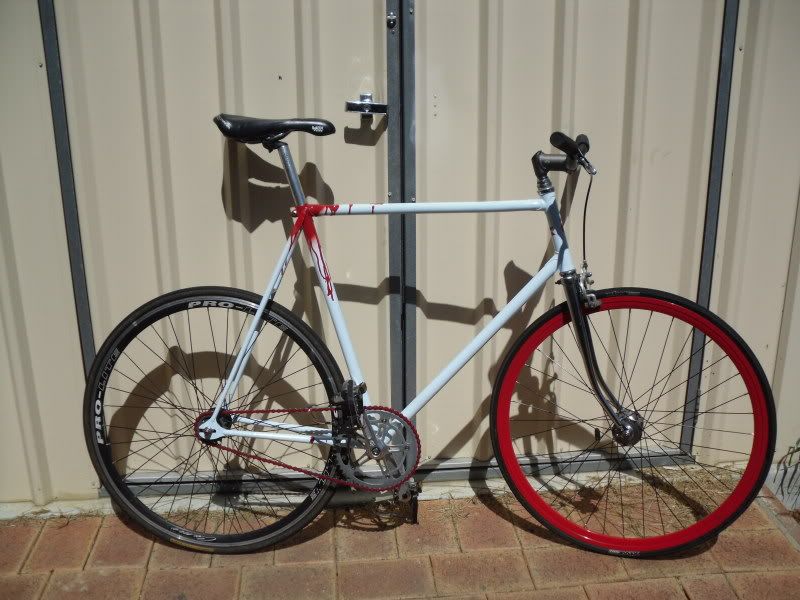
so anyway, first off you strip down your bike. take off everything, clean it, and keep it in a safe spot. throw away all the gears and shifters. you'll need to get your hands on a fixed rear wheel.
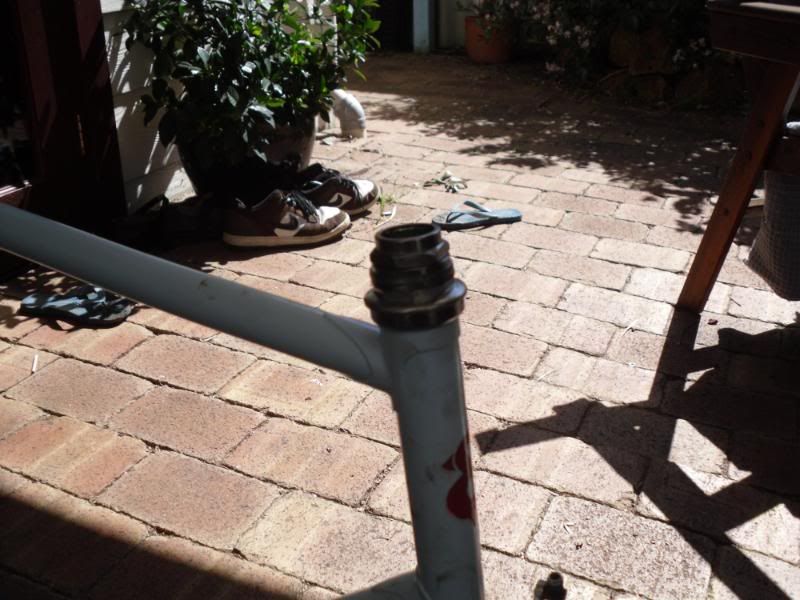
with a bare frame, we need to install a bottom bracket. most old school road & track frames have an english threaded 68mm bottom bracket shell, with a loose bearing square taper bottom bracket. if you are unsure, take your frame to your local bike shop and they'll be able to tell you for sure.
this is what a bottom bracket looks like. there are two cups (threaded parts) that have bearings inside them and they hold the spindle (shaft) in place, with a lockring on the non-drive side cup.
its pretty importat to note that the drive side on an english threaded bottom brack is reversed, so forget lefty loosey, righty tighty - its the other way round ONLY for the driveside ok.
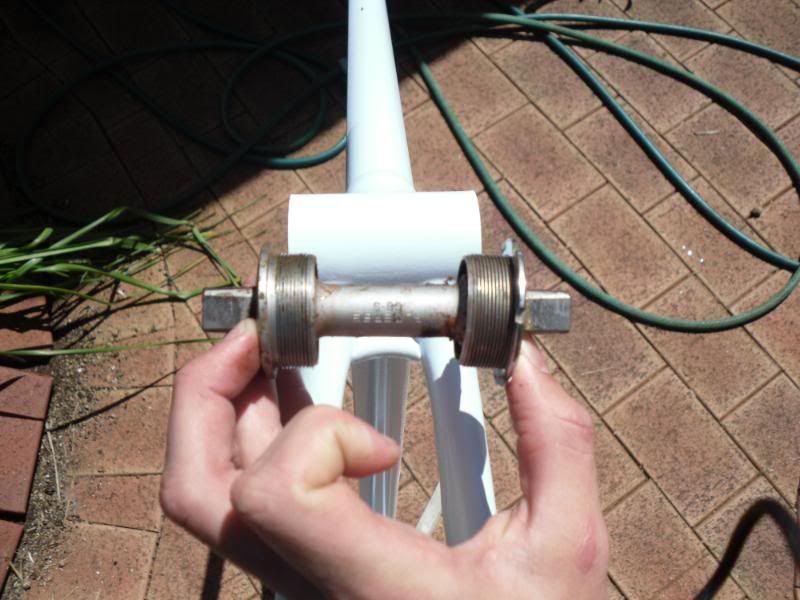
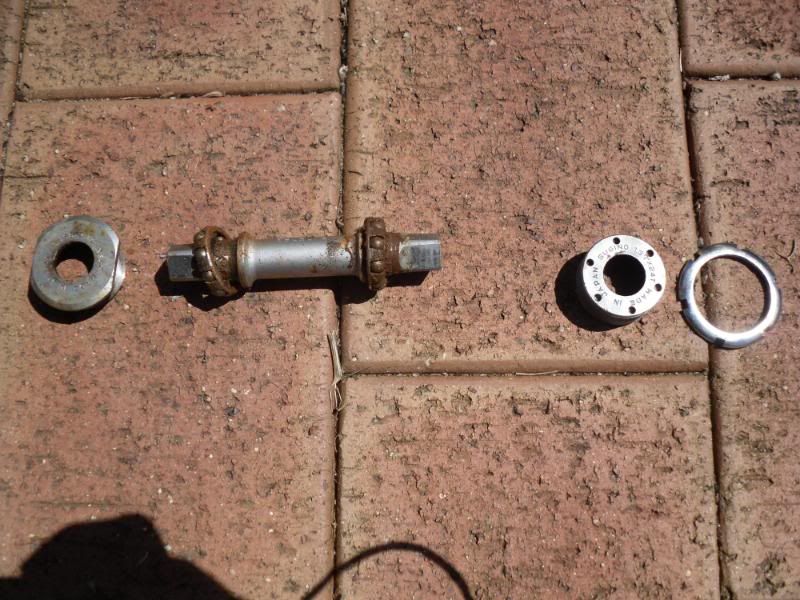
here you can see it dissasembled.
you can either regrease and reinstall the old loose bearing bb setup, or buy a brand new sealed bearing bb for about $40 in an array of spinde sizes. the benefits of buying a new one is you can choose what size you need to get the chainline straight, and they dont need maintenance.
so i bought a new one, and a tool to install it which costs about $4 - its the splined tool on the left hand side in the photo below.
this is how it should be installed, it tells you which side is right and which is left so its pretty brainless. remember the drive side thread is reversed.

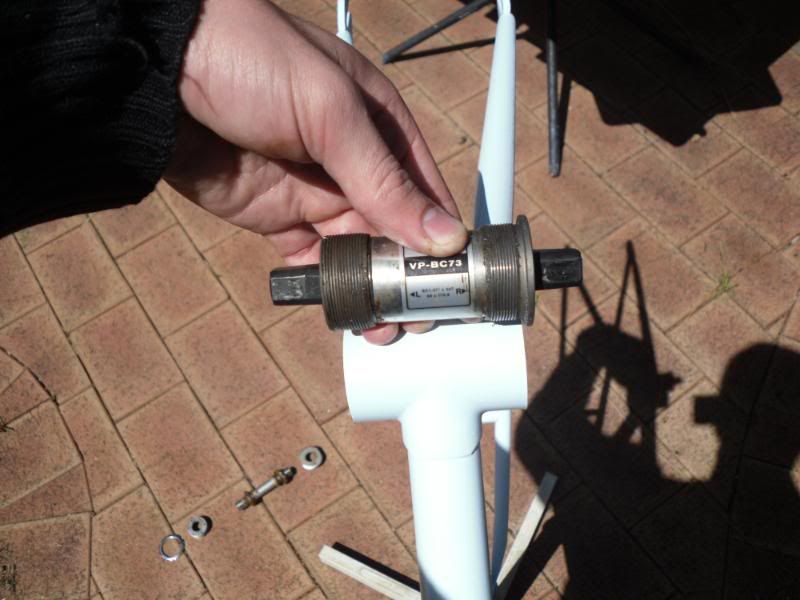
and here it is installed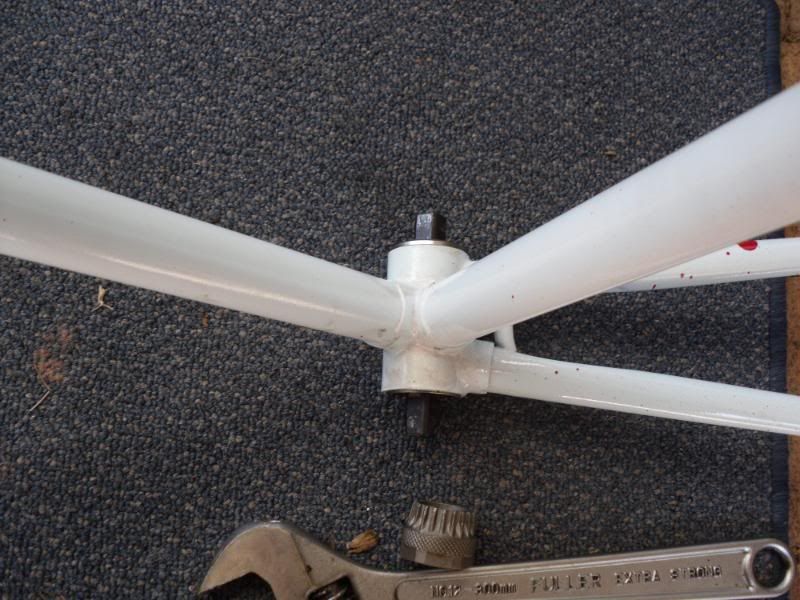
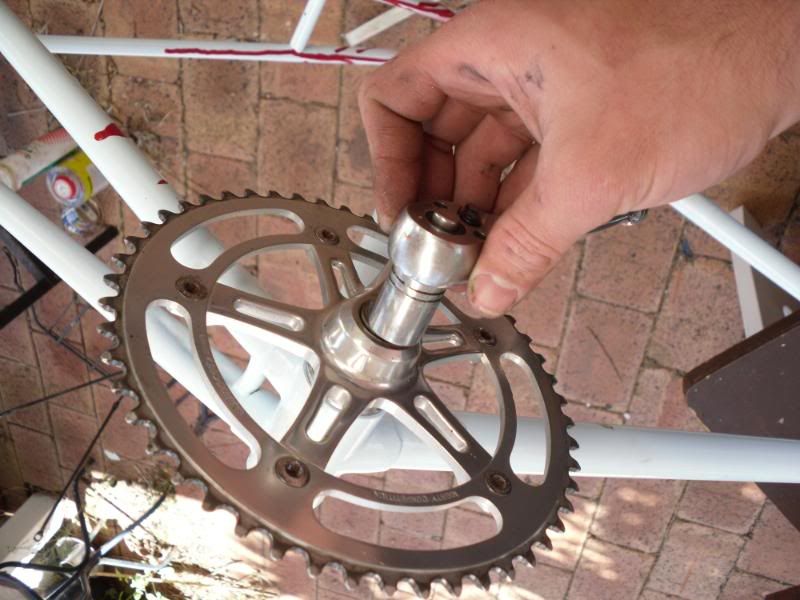
time to move on to cranks. installing your crank is alot easier than removing it. to remove it, you need a tool called a crank puller and a 16mm spanner. crank pullers cost about $5 from your local bike shop. anyway, put on your drive side crank & chainring. make sure its on properly.the parktool website has info on installing/removing cranks here http://parktool.com/repair/readhowto.asp?id=103
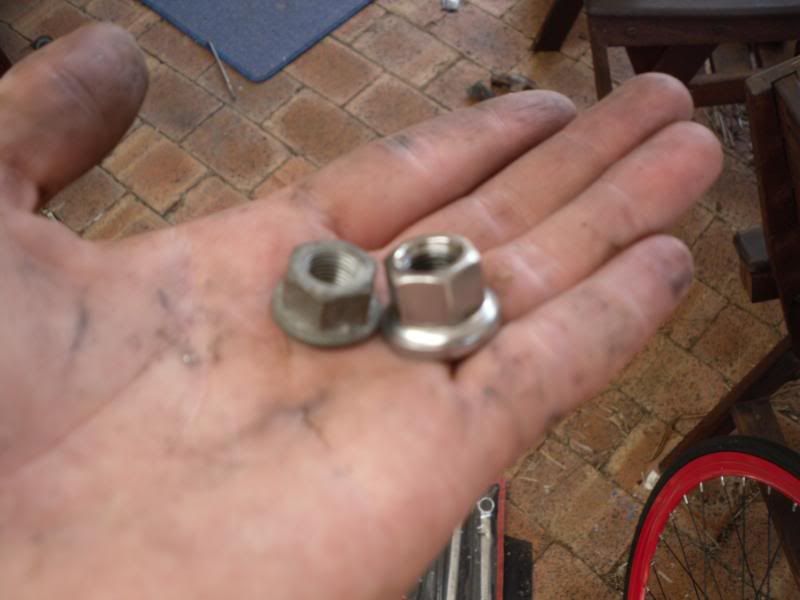
now you install your rear wheel which should have a fixed gear on it. make sure that it is straight, this is important. another thing which is important to use, is track nuts. this is even more-so on road frame fixie conversions, so your wheel doesnt come off while your trying to skid. heres a picture of a track nut (on the right) compared to a regular nut from a road bike. it has a washer built in to the nut. they're cheap, they're worth it, do it.
now its time to check your chainline. the way i check to see if my chainline is straight, is by using a long ruler. i place it on the chainwheel, making sure it is flush, then you see if it lines up with the rear cog, as per the photo below.
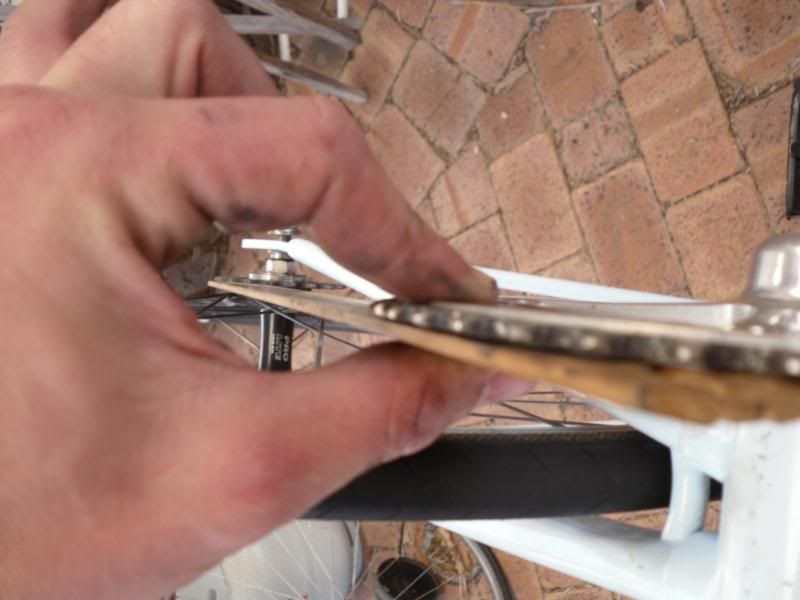
if your chainline isnt straight there are a few ways to get it straight. different bottom bracket spindle legnth, different crankset, changing the chainring from inner to outer of the crank arm (and vise versa), re-dishing the rear wheel and so on. take your bike to your lbs if you need advice. just be sure to get your chainline straight, its really quite important. with that said, it can be out by a milimeter or so, but personally i wouldnt want it anything but dead straight.
when you get your chainline straight you can install your chain. go buy a good quality BMX chain because it will be strong, and thats what you want when riding fixed. especially if you plan to do skids. they're not expensive, wont be more than $15.
pop off the quick release link and use a link removal tool to get your chain to the appropriate size. make sure when you fit your chain, the clip which is sitting on the bottom of my palm is "as the fish swims" when you pedal forward. (basically the hole in the clip faces backwards when riding). hope that makes sense.

now you can install your forks. below is a picture of the fork and the crown race (on the right).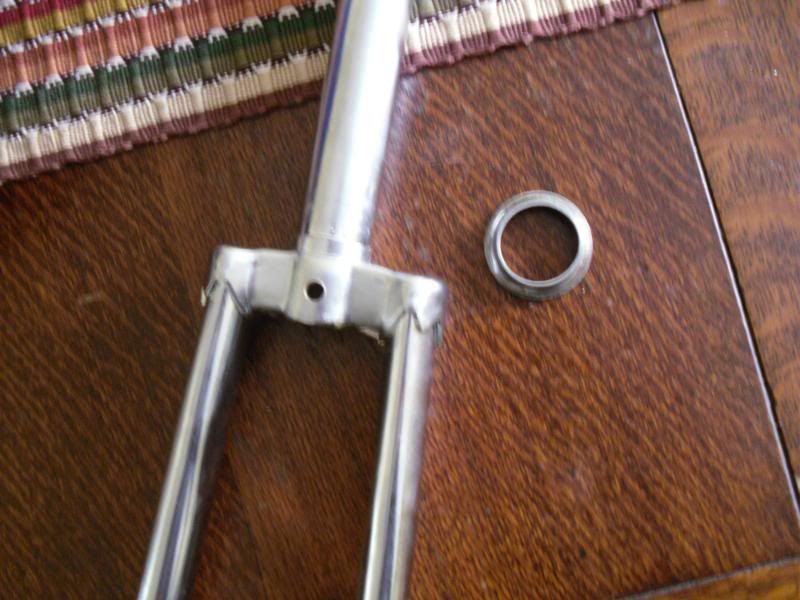
heres the crown race fitted to the fork. the crown race should be fitted flush on the crown without movement.
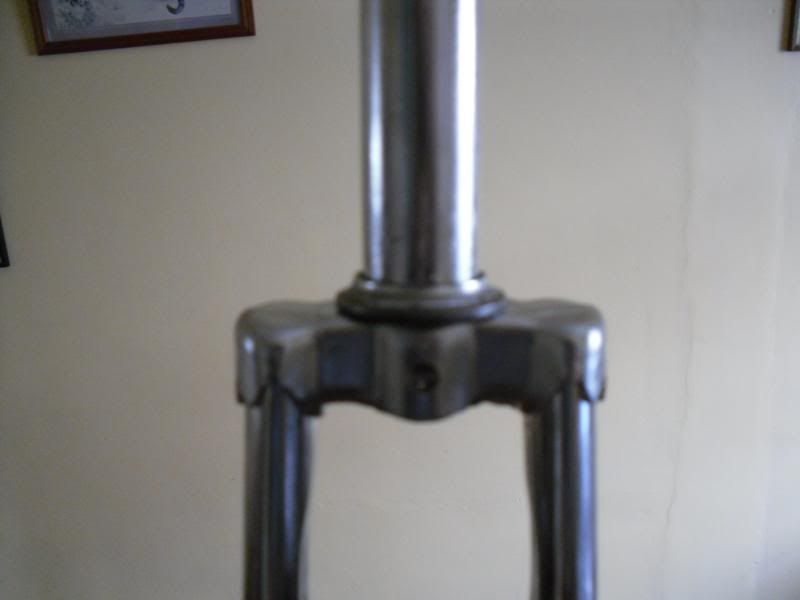
below is the bearing sitting on the crown race, and the lower bearing cup (above my fingers) that needs to be fitted into the bottom of the head tube of the frame.
below you can see both the bearing cups installed. the two bearing cups, bearings and top lock nut are referred to as a headset. oldschool ones like in the pictures are referred to as threaded headset and use threaded forks. new ones are threadless (or ahead headsets) and use threadless forks but im not going to go into that now.
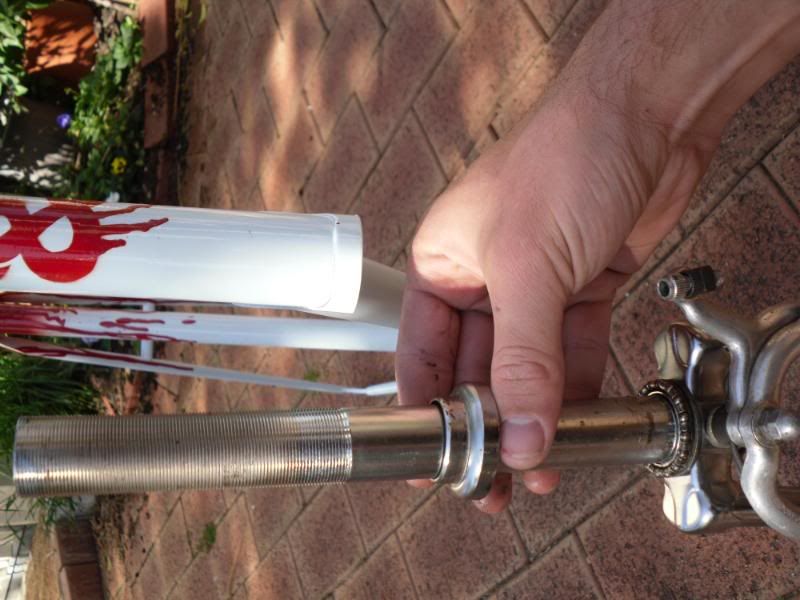
once both the bearing cups & bearings are installed with new grease, you can fit the fork, lock nuts and spacers if required. due to the fork not being original on this frame, i've had to use lots of spacers. and yes, i know it looks absolutely shit house. i will replace the headset with a good one when i find a good fork for it.

No comments:
Post a Comment